You have a design ready for the needle, but a critical question stands between you and a perfectly stitched product: how should you digitize it? The world of Digitizing Embroidery is fundamentally divided into two camps: the hands-on, artistic approach of manual digitizing and the quick, tech-driven promise of auto digitizing. It’s a classic battle of quality versus speed, artistry versus automation. But framing it as a simple "which is better?" debate misses the nuance. The real answer to which method "wins" depends entirely on your project, your priorities, and your definition of success.
Is your goal a flawless, professional-grade company logo, or are you quickly personalizing a gift bag? Understanding the core strengths and limitations of each method is the key to making an informed decision that saves you time, money, and frustration. Let's dive into the details of manual and auto digitizing to see which one deserves the crown for your specific needs.
The Contender: Auto Digitizing (The Speed Demon)
Auto digitizing, also known as auto-punching, is the process of using software to automatically convert an image file (like a JPEG or PNG) into an embroidery file. You upload the image, click a button, and the software's algorithm makes all the decisions about stitch type, direction, and density.
The Pros: Why Auto Digitizing is Tempting
-
Incredible Speed: This is its biggest advantage. You can get a stitch file in a matter of minutes, or even seconds. For those on a tight deadline or who need to digitize a high volume of simple designs, this speed is unmatched.
-
Low Barrier to Entry: Most embroidery software, even basic versions, includes an auto-digitize function. It requires no specialized training or understanding of stitch mechanics, making it accessible to absolute beginners.
-
Good for Simple Shapes: For very basic designs with clear, bold lines and limited colors—think a simple star, a heart, or block letters—auto digitizing can produce a serviceable, though not exceptional, result.
The Cons: Where Auto Digitizing Falls Short
-
The Puckering Problem: Auto-digitizing software notoriously ignores or poorly implements underlay. Underlay is the foundation of stitches that stabilizes the fabric. Without it, your design is highly likely to pucker, pulling and wrinkling the garment.
-
Poor Stitch Choices: The algorithm often makes clumsy decisions. It might use a fill stitch for fine text, making it look blocky and unreadable, or choose a random stitch direction that flattens the design instead of adding dimension.
-
No Pull Compensation: The software doesn’t understand the physics of thread pulling on fabric. This means shapes like circles often stitch out as ovals, and fine details become distorted.
-
One-Size-Fits-All Approach: It doesn’t ask what fabric you’re using. A file auto-digitized for a towel will have the same settings as one for a stretchy t-shirt, leading to poor results on one, if not both.
The Verdict on Auto Digitizing: It’s less of a "digitizing" tool and more of a "conversion" tool. It wins in the speed category but loses badly when it comes to quality, durability, and professionalism.
The Champion: Manual Digitizing (The Artisan's Touch)
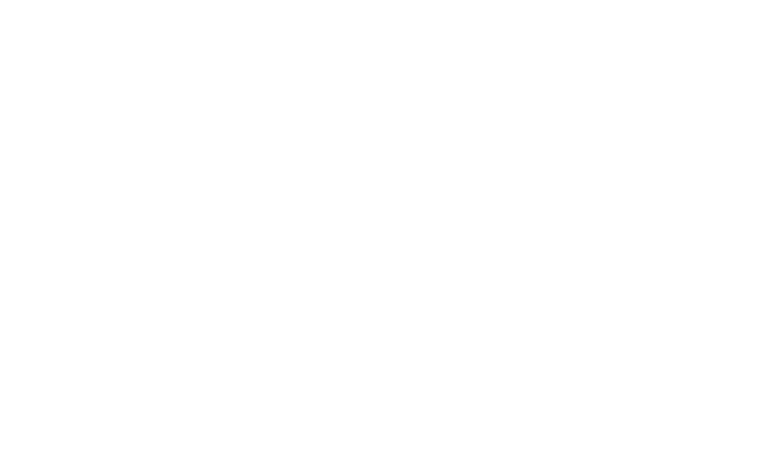
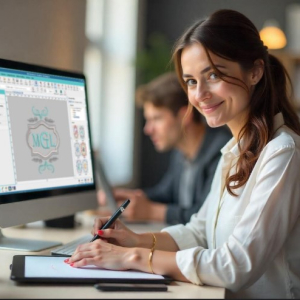
Manual digitizing is the process of a skilled human using specialized software to manually create an embroidery file stitch by stitch. The digitizer makes every single decision, from the type of underlay to the precise angle of every fill stitch.
The Pros: The Case for Manual Quality
-
Unbeatable Quality and Control: This is the paramount advantage. A manual digitizer can create clean, crisp text, smooth curves, and complex textures that auto-digitizing can only dream of. They have complete artistic and technical control over the final outcome.
-
Engineering for Success: A manual digitizer anticipates problems. They add the correct underlay to prevent puckering, apply pull compensation to maintain shape, and adjust stitch density for the specific fabric. This results in a file that stitches perfectly the first time.
-
Artistic Flair and Dimension: Manual digitizing is where art meets engineering. The digitizer can use stitch direction to create highlights and shadows, add texture, and make the design pop off the fabric in a way that looks truly professional.
-
Durability: A manually digitized file is engineered for longevity. The correct settings prevent thread breaks and ensure the design can withstand washing and wear.
The Cons: The Cost of Excellence
-
Time-Consuming: Manual digitizing is a slow, meticulous process. A complex logo can take an experienced digitizer several hours to complete. This is not a solution for instant gratification.
-
Requires Expertise: It has a significant learning curve. Becoming proficient requires a deep understanding of both the software and the physics of embroidery. This expertise comes at a cost.
-
Higher Price Point: Because it requires skill and time, professional manual digitizing services charge more per design than an automated software license. However, this cost is an investment that prevents wasted materials.
The Verdict on Manual Digitizing: It wins decisively in every category related to quality, professionalism, and reliability. It’s the only method suitable for business branding, complex designs, and delicate fabrics.
The Scorecard: Which Method "Wins"?
So, who takes the trophy? The answer is situational. Here’s a simple guide to choosing your winner:
Choose Auto Digitizing IF:
-
You are a hobbyist experimenting with a simple, non-critical design.
-
The design is extremely basic (a single shape, thick text).
-
Speed is your absolute top priority, and the final appearance is secondary.
-
You are using a durable, stable fabric and don’t mind potential puckering.
Choose Manual Digitizing IF:
-
The design is for your business logo or brand identity.
-
The artwork has fine details, small text, or complex elements.
-
You need the design to be flawless, durable, and professional.
-
You are stitching on challenging fabrics like stretchy knits, fleece, or caps.
-
Your goal is to save money on wasted garments and thread in the long run.
The Hybrid Approach: The Best of Both Worlds?
Many professionals are now finding a middle ground. They might use the auto-digitize function as a starting point for a very simple element within a larger design. This creates a rough outline that they then heavily modify and perfect manually. This hybrid approach can save a few minutes on the initial setup but still relies on human expertise for the final, quality result.
Conclusion: There's No Free Lunch in Embroidery
The battle between manual and auto digitizing ultimately reveals a universal truth: in embroidery, there is no shortcut to quality. You cannot automate artistry and engineering.
For any project where the result matters—where your brand, your money, or your reputation is on the line—manual digitizing is the undisputed winner. It is the only method that consistently produces the stunning, professional, and durable results that make embroidery so valuable.
While auto digitizing has its place as a beginner's tool for low-stakes projects, it remains a gamble. Investing in professional manual digitizing isn't an expense; it's insurance for your project's success. So, before you click that "auto-convert" button, ask yourself what you're really trying to achieve. If you want a result you can be proud of, the choice is clear: trust the artisan, not the algorithm.