
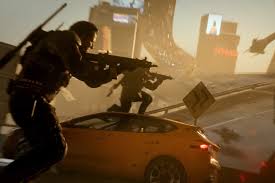
Everyone's had that endgame where you've rotated well, stayed calm, and still lose the last gunfight because the other player's tanked up on gold plates. That's why I stopped treating armor like a lucky bonus and started treating it like a plan. If you're already putting time into positioning and aim, it makes sense to lock in your survivability too, and even folks who focus on CoD BO7 Boosting talk about the same thing: consistency wins more matches than highlight plays.
Why the red zone matters
Standard looting is fine when you're chilling in mid game, but it's a gamble when you actually need Tier 3. The repeatable route is pushing into the high-threat red zone on purpose. You'll feel it straight away: the lighting shifts, the fights get louder, and the AI turns mean. People avoid it because it's messy, but that's exactly why it pays. The loot pool gets better when the risk goes up, and you're not just hoping a random chest decides to be generous.
Finding the Mangler fast
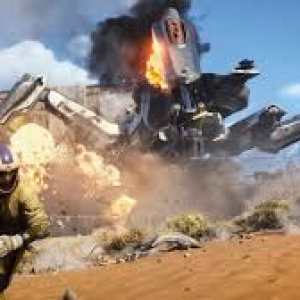
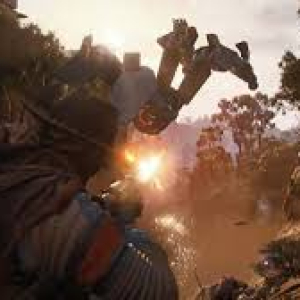
Once you're in, you're hunting one target: the Mangler. You don't need a map guide to spot it. It's huge, armoured, and it'll start lobbing that nasty incendiary blast the second it has line of sight. Before you commit, do two quick checks: ammo count and cover. If you're low on rounds, back off and reset. If you've got a strong angle with a bit of distance, you're good. The biggest mistake is running right at it like it's a normal bot. It isn't.
How to kill it without getting deleted
Play it like a mini-boss. First, keep space. Second, bait the projectile—peek, trigger the shot, then slide back behind cover. Third, punish the downtime with sustained fire, not panic bursts. It's a grindy kill, so bring something that holds damage over time and don't waste mags on missed shots. If you've got a teammate, stagger your peeks so one person's always shooting while the other resets plates. Do that and the fight turns from scary to routine.
Turning one kill into guaranteed endgame value
The reason this loop's worth learning is simple: the Mangler's drop table is generous. Community testing lines up with what I've seen—roughly a 50/50 shot at high-tier defensive gear, meaning Level 2 plates at minimum and that sweet Level 3 gold armor often enough to matter. That's not "maybe I'll get lucky," that's odds you can build a match plan around. And if you want to smooth out the rest of your setup—ammo, weapons, or other essentials—plenty of players use marketplaces like U4GM to grab game currency or items so they can focus on the hard part: winning fights when it counts.